

Section 4:
Sample Processing and Analysis
Introduction to Sample Processing and Analysis
After you’ve taken your samples, it’s time to process and analyze them! This section of the Toolkit will provide a list of laboratory materials you will need, and the best practice to clean and take care of them. We will teach you how to process your samples and your QA/QC samples using the IDEXX standard method and protocols. You will also be shown how to analyze your samples after they have been processed.
For more information review the Standard Operating Procedures document.

Laboratory Materials
Laboratory Materials, Safety, and Preparation
The first step in the sample processing and analysis procedures is to understand laboratory materials, safety regulations, and processing preparations. It is essential to ensure that the space you are working in maintains appropriate cleanliness and that you operate in accordance with lab rules to produce valid results. As well, making sure that you customize your lab documents and spreadsheets prior to collecting samples will aid in easy sample transferring, processing, and analysis.
For more information and details pertaining to this section of the Toolkit, refer to the Standard Operating Procedures document in section four.
Whirl-Paks (Figure A): Whirl-paks are 100mL disposable bags, used for collecting and storing water samples in a safe and sanitary manner.
Sample Containers (Figure B): Sample containers are small storage vessels for the whirl-paks while they are being processed.
Colilert (Figure C): Colilert is the nutrient indicator that is added to the samples. It is designed to test water samples for Total Coliform and E. coli. The Colilert contains one nutrient for each respective bacteria, and once the nutrient is metabolized by the bacteria, it changes colour.
The Colilert reagent should be white to off-white in colour, and the powder should be dry. Ensure that the snap packs are not damaged such that they allow moisture to leak in. Do not use any Colilert reagents if the snap pack is damaged or if the reagent powder is wet and has formed clumps. Please check the expiry data on your Colilert before use.
Quanti-Tray/2000 (Figure D): Quanti-trays are sterile, disposable trays used to determine the amount of E. coli in a sample. Based on the number of positive squares in the Quanti-Tray/2000, a statistical model determines the most probable number of E. coli in the original sample.
Opened bags of Quanti-Tray/2000 should be folded over and taped when not in use.

5. Sealer (Figure E): The sealer is an instrument that uses heat to close the quanti-trays, ensuring that the samples will not spill out. This prevents contamination of the samples during the incubation period.
6. Incubator (Figure F): An incubator is a scientific instrument designed to maintain a specific temperature.
7. Thermometer (Figure G): We use a thermometer in the lab to determine whether the temperature blank is below 10 degrees celsius.
8. UV-A Light (Blacklight) and black box (Figure H): The blacklight is used to determine the E. coli in a sample. The sample is out into the black box and is observed through a lens at the top.
9. Comparator (Figure I): The comparator is a liquid color and fluorescent reference. We can use this as a comparison for the analysis sample to determine whether or not it is positive or negative. Its purpose is to assist in distinguishing a minimal positive from a negative test result. At 24–28 hours, any yellow color or fluorescence equal to or greater than the comparator is considered a positive test result.
The comparator should be stored in a dark environment between 2ºC and 30°C
10. Rubber Insert (Figure J): This rubber insert is the tool in which you will place your Quanti-Tray/2000 into so that it may slide into the sealer correctly

Laboratory Rules and Safety
Laboratory Rules
Prior to working in the lab, review the laboratory rules:
All users of the laboratory space are responsible for cleaning.
Always clean up after yourself.
Food and drink must not be in the laboratory and must not be stored in the laboratory refrigerator or freezer.
Always wash your hands before and after analysis and cleaning.
All surfaces and equipment should be viewed as potentially contaminated.
Laboratory floors and tables/benches should be kept free of clutter.
Materials (gloves, pipette tips, cleaning solutions, deionized/distilled water, Colilert, etc) are to be stored in cupboards.
Boxes are to be labelled and should be in view.
Laboratory Safety Materials and Equipment
Some materials used in the laboratory should be accompanied by Safety Data Sheets (SDS). These sheets provide hazard information, advice, and safety precautions. They additionally include what to do in case of an emergency. Safety data sheets can be found by googling the product followed by “safety data sheet”. If you are unsure if something should have an associated SDS research the material to find out.
Personal protective equipment in the laboratory must be worn. This includes:
a clean change of clothes (not field clothing);
a laboratory coat;
closed footwear (no open toes);
goggles or safety glasses to protect eyes from contamination and UV radiation;
other Personal Protective Equipment, as indicated on the SDS for all controlled substances.
Gloves
Use antibacterial soap and/or gel to wash hands before and after laboratory work.
It is also good practice to follow these guidelines:
Treat all samples as if they are potentially pathogenic.
Keep materials and hands away from face and mouth;
Keep conversation to a minimum.
Laboratory Controls
It is important to follow these guidelines to keep yourself and the samples safe.
Keep the laboratory clean:
Keep out all food, beverages, and gum.
Keep out all reusable bottles or utensils.
Wet-mop floors and treat with a disinfection solution as needed; do not sweep or dry-mop.
Maintain benches in a clear, uncluttered condition.
Keep the refrigerator and incubator clean and free of all food and beverages.
Keep the laboratory disinfected:
Wipe down countertops with a 1% bleach solution or methyl (or isopropyl) alcohol before and after use. Alternatively, clean aluminum foil can be laid over the work area before each use.
If a culture of infectious material is spilled, disinfect and clean the area immediately.
Keep all contaminated materials out of the sink and regular waste bins. Items known or thought to be contaminated (such as incubated Quanti-Trays) must be disposed of according to on-site regulations. As a best practice, we recommend placing contaminated materials in Stericycle boxes for later pickup and incineration.
Laboratory Analysis Preparation
Customizing Lab Bench Sheets
Now that you are ready to process and analyze your samples, download the Lab Bench Sheet. Customize the sheet according to your monitoring plan and record your data here. Must be completed before you begin your sample analyzing process.
Cleaning Field and Lab Equipment
The ‘Cleaning Instructions’ and ‘Cleaning Log’ documents helps us track our cleaning and maintenance schedule for all the equipment we use during our monitoring work. As outlined in our Standard Operating Procedure document, we follow stringent equipment cleaning and maintenance guidelines to ensure the accuracy of our water quality results.
The ‘Equipment Inventory Management’ document helps us keep an inventory of the supplies we use for monitoring and lab work. We typically fill this out at the end of each week. Keeping track of inventory is especially helpful for knowing how many supplies we’ve used, and when we might need to order more. This template is a comprehensive list of all the supplies we use during monitoring. Download a copy of the Excel document and you can edit it to suit your monitoring program.
Download the Lab Bench Sheet
Download the Cleaning Log
Download the Cleaning Instructions
Download the Equipment Inventory Management Sheet
Completing Chain of Custody - Part 3
Transfer samples, review and sign the Chain of Custody form. There must not be a lapse in time between the relinquished and received times on the Chain of Custody form.
Note time when samples arrived at the lab.
Inspect coolers. Verify the number of samples.
Laboratory QA/QC Processing
Temperature Blank
Locate the temperature blank sample
Use a thermometer to check the temperature of the sample
Temperature should be between 0-10 degrees C, or be colder than the temperature of the waterbody it was sampled from.
Record the temperature of the samples on your Field Sheet
Field Blank
Process the field blank according to the same water sample processing procedure outlined in the section below.
Do not dilute the sample.
Duplicate Sample
Process the samples according to the same water sample processing procedure outlined in this section below.

Laboratory Blank
Laboratory blanks should be run regularly if you are using dilutions or when field blanks are not in use.
Fill a sampling vessel with deionized/distilled water from the laboratory bottle.
Process the laboratory blank according to the same water sample processing procedure outlined in the section below.

How to Process Samples
After reviewing the preparation information and analyzing your QA/QC samples, you are ready to begin processing your water samples. The samples will be processed using the IDEXX Quanti-Tray/2000 methodology. This method of analysis provides data on the E.coli and Total Coliform counts in each bubble of the sample tray using ultraviolet analysis. To learn more about the IDEXX Quanti-Tray/2000 method, refer to the IDEXX Laboratory website page.
For more information about the steps involved in processing your water samples, review the Standard Operating Procedures document section five.
Processing Preparation
Wipe down countertops/work area with a 1% bleach solution or methyl (or isopropyl) alcohol. Alternatively, clean aluminum foil can be laid over the work area before each use.
Wear gloves: Once worn, lather the glove surface with sanitizer.
Allow to air dry.
Dispose of any gloves that come into contact with sample water and replace with a new pair.
Label the front of the Quanti-Trays underneath the overflow well and above the top row of large wells, using a permanent marker, with the sample label. If you are diluting your samples in the lab, add DIL (and the ratio) at the end of the sample.
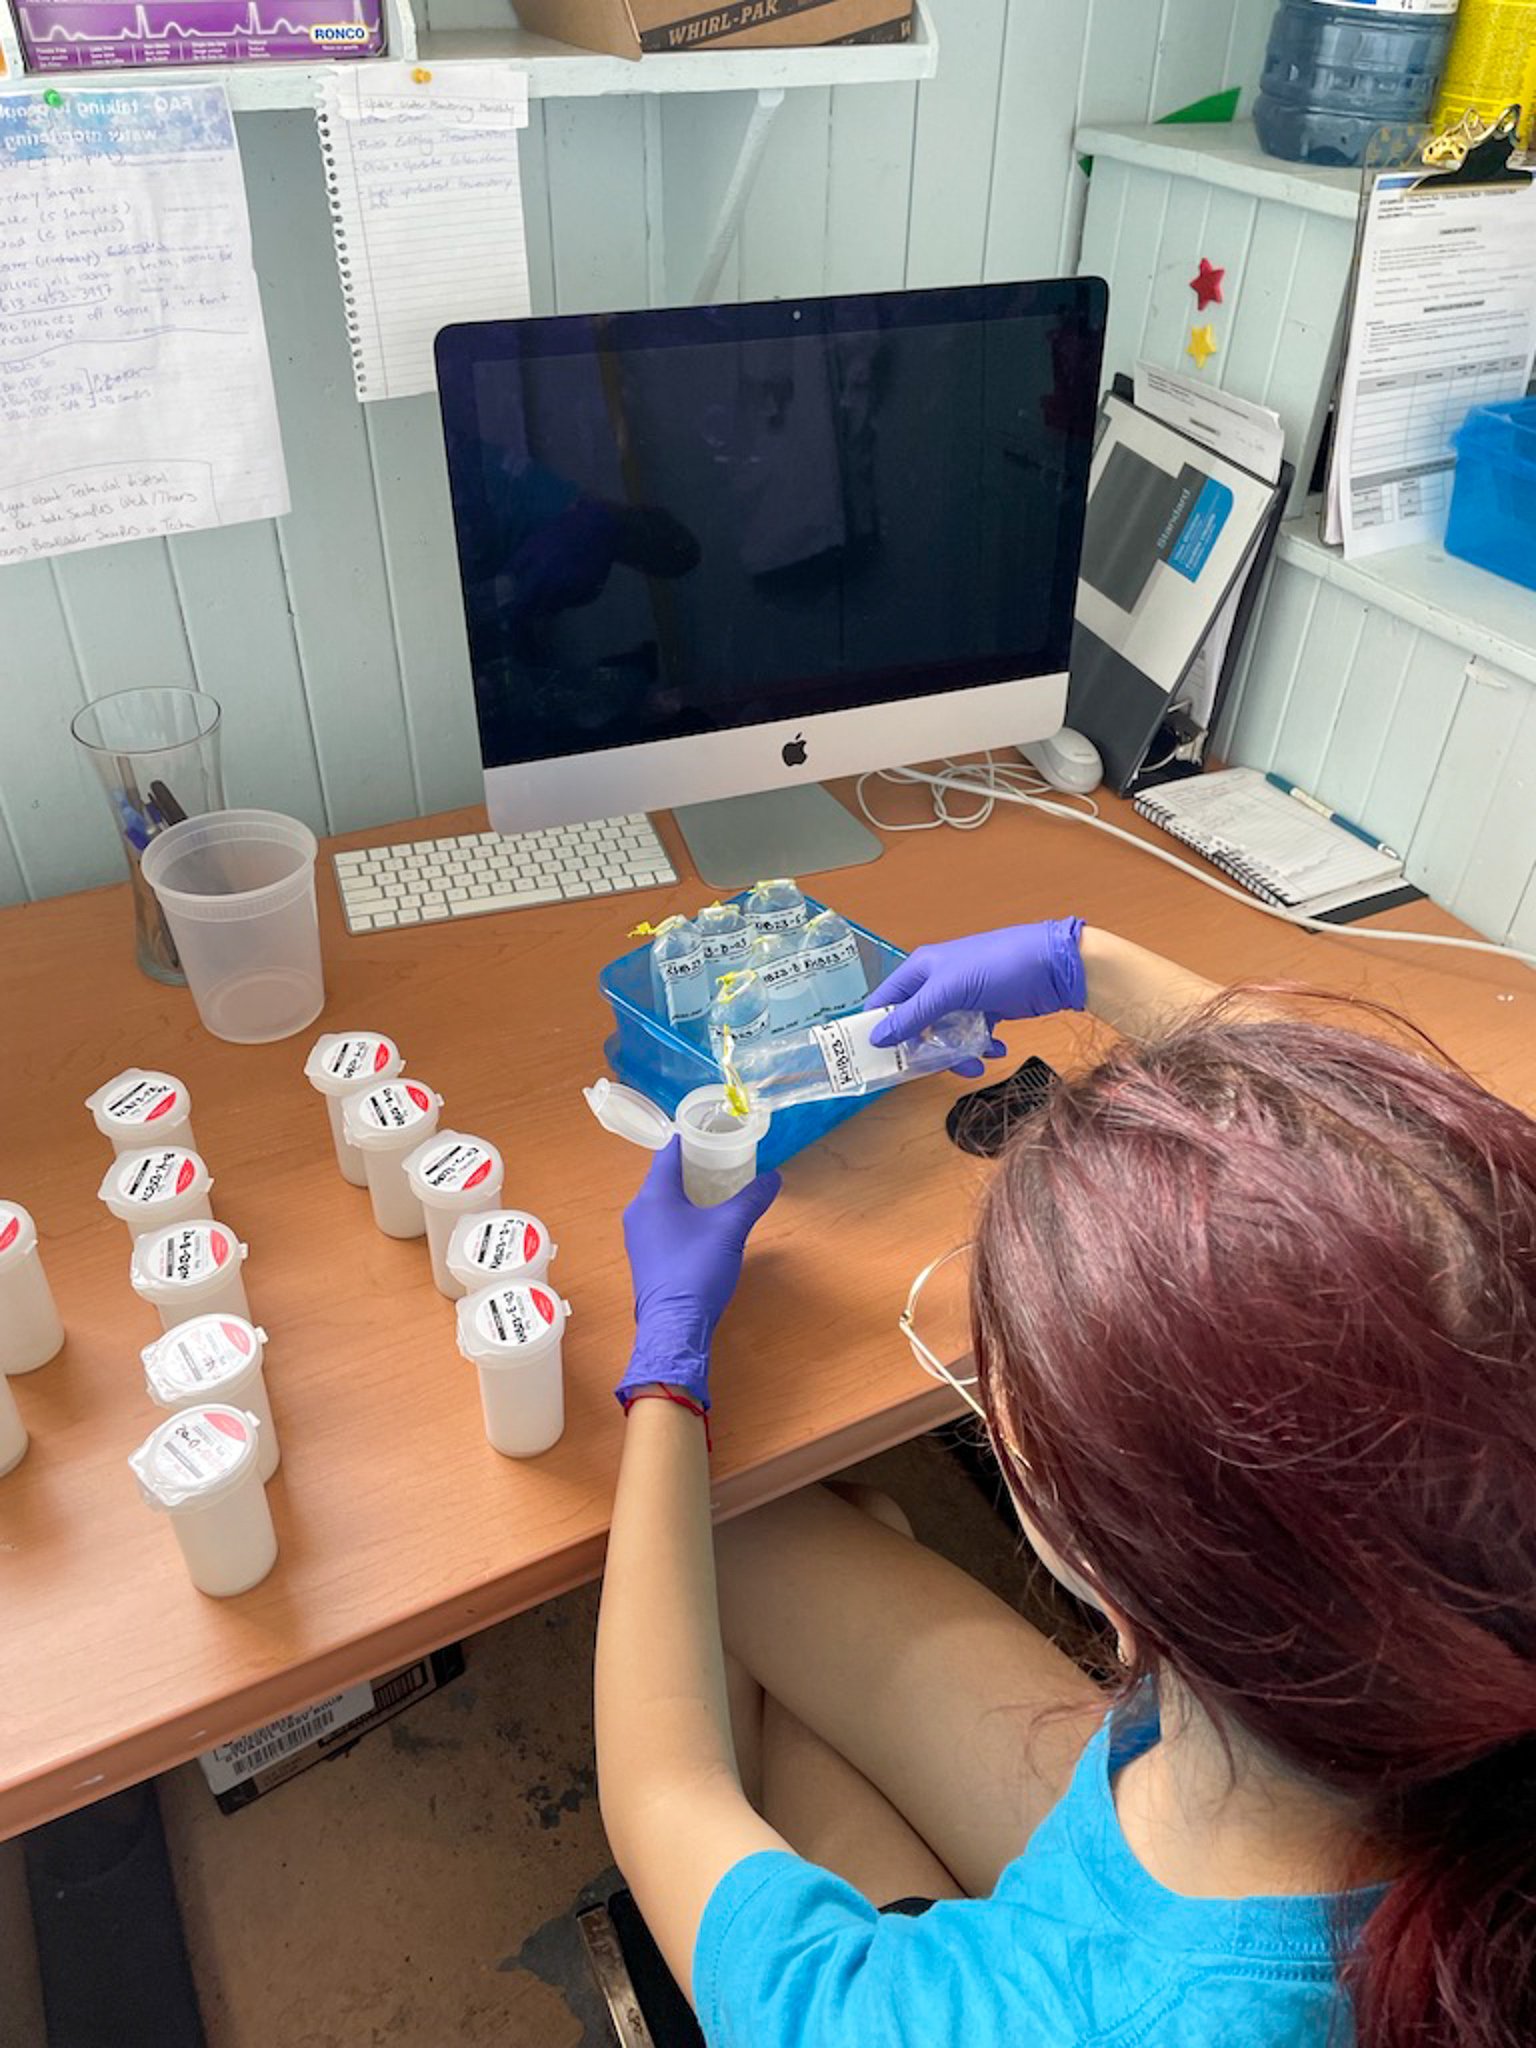
Place samples in their sampling vessel into storage containers on the lab bench.
Ensure there is enough Colilert for all samples, including duplicates and dilutions.
Refer to Dilution Guide in section 5.5.3. for sample quantity.
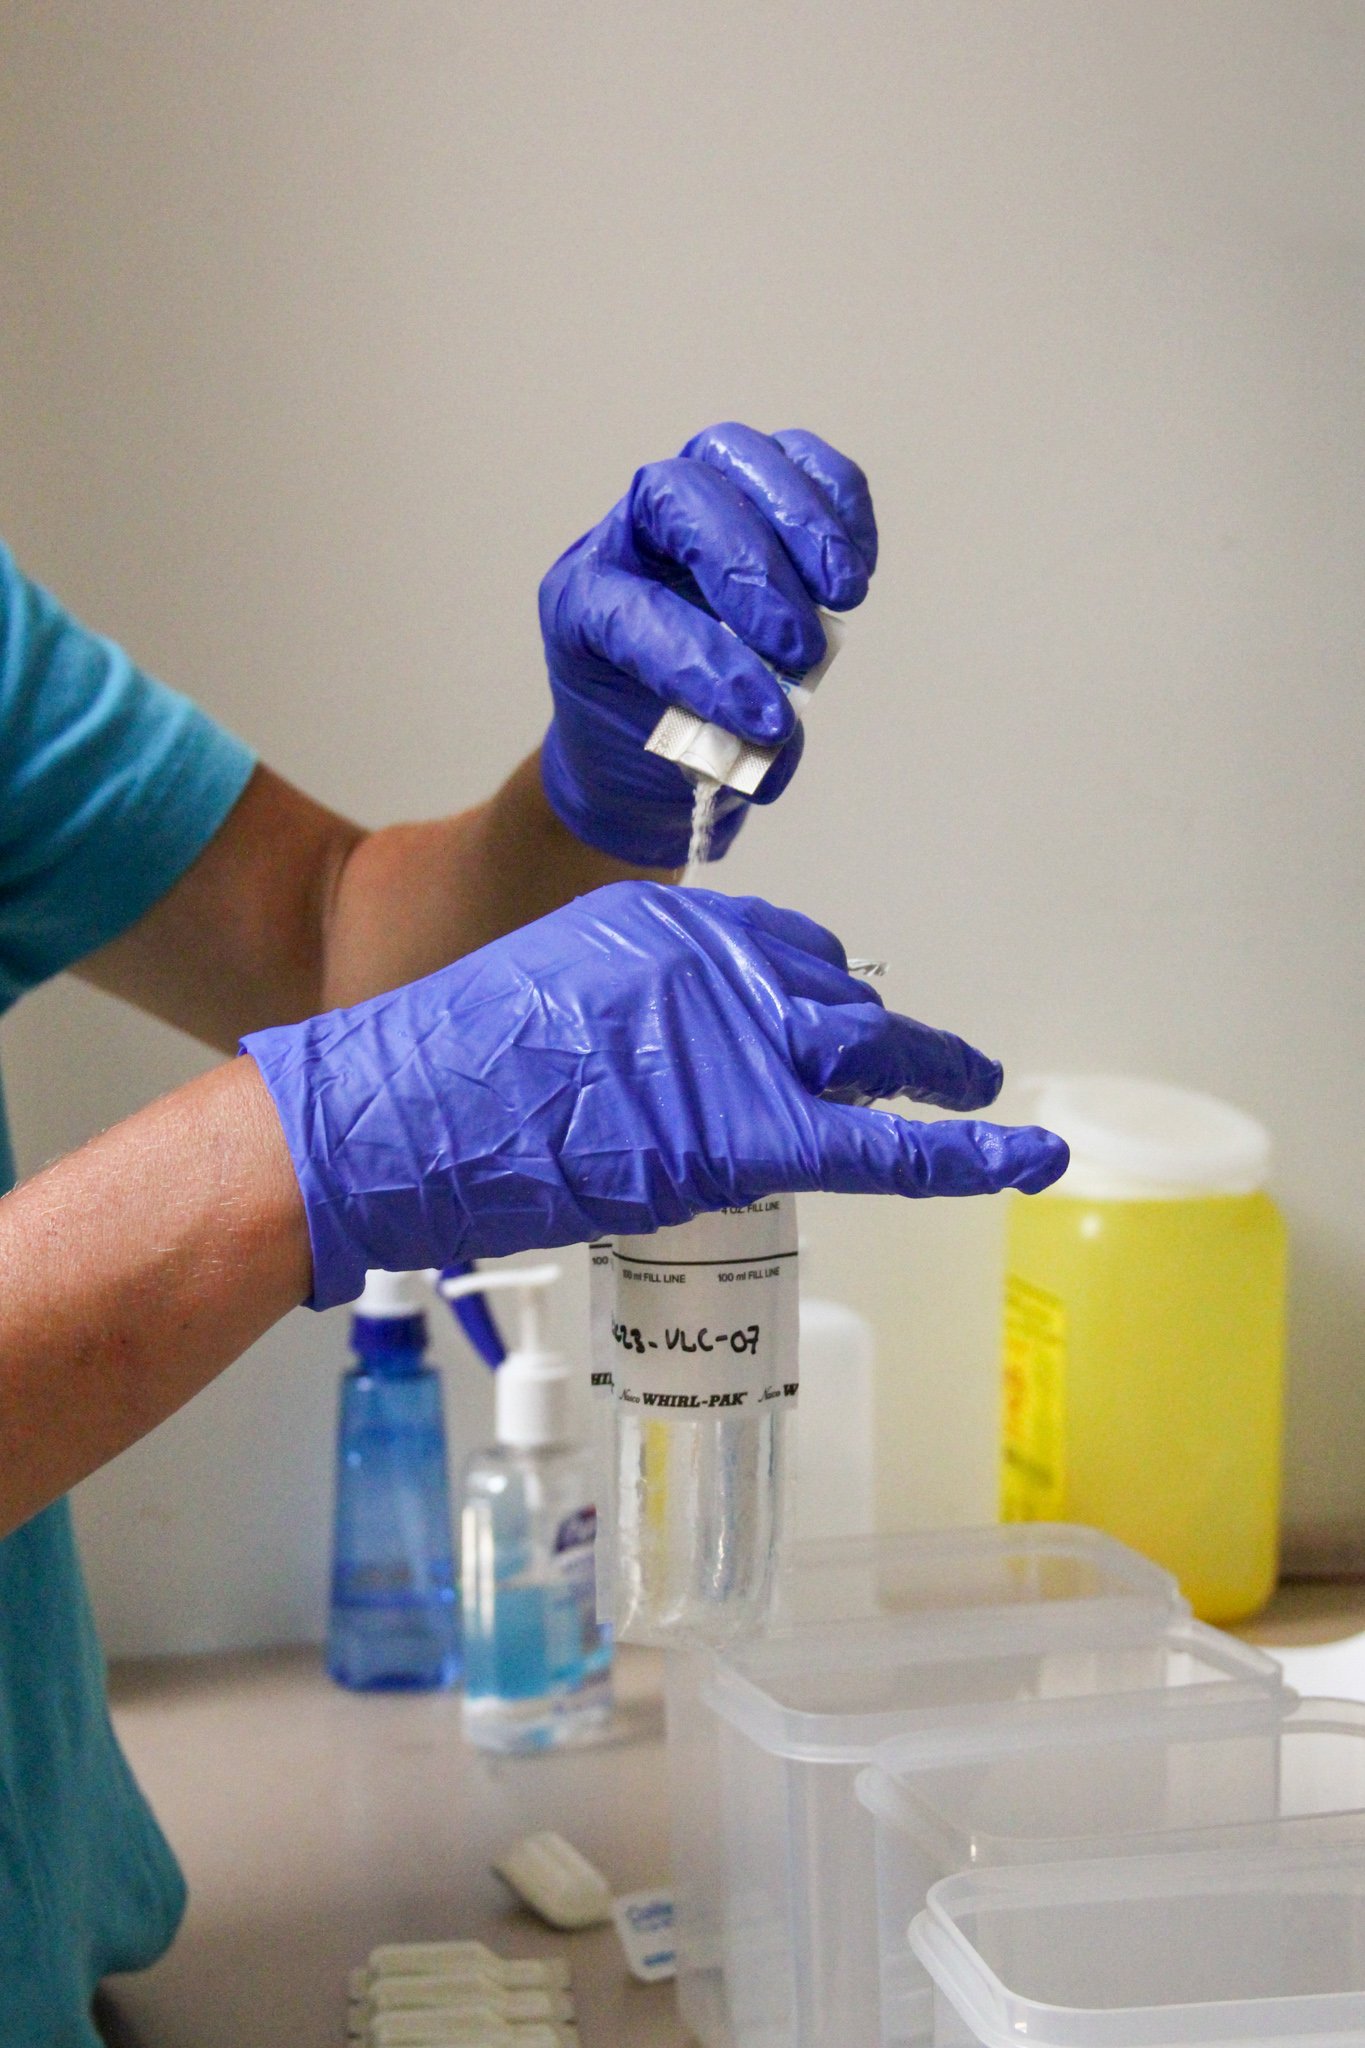
Adding Colilert
Add the contents from a pack of Colilert to a 100 mL water sample in a sterile vessel (bottle or Whirl-Pak). When handling an IDEXX disposable bottle, place the cap on the counter such that the inside of the cap is facing upwards.
Tap the Colilert capsule 3 times to make sure all the powder is released.
Cap vessel or close Whirl-Pak. Mix until Colilert powder is completely dissolved. Allow any foam to subside. It is recommended to slowly invert the whirl pack and reverse the motion to mix the Colilert.
How to Dilute a Sample
Determine the ratio of the dilution. See table above. Determine the amounts of sample water and diluent you will need for your dilution. For example, for a 1:10 dilution, you will need 10 mL from the sample and 90 mL of DI water.
Label the new vessels for the diluted samples with the matching sample identifier and -DIL at the end and the Dilution Ratio. Prepare the first dilution vessel by removing the cap or opening the Whirl-Pak. Note: make sure that the Quanti-Tray labels include the dilution ratio and -DIL on sample identifiers.
Add the related mL of sterile DI water to the vessel (e.g., for a 1:10 dilution, add 90 mL of DI water). Note: Diluent should be added to the vessel first, followed by the sample.
Mix the original sample thoroughly and then open the vessel and withdraw the appropriate amount of water from the sample using a pipette (instrument) with a sterile pipette tip, or equivalent.
Transfer the sample to the new sterile vessel with the diluent, such as a bottle or Whirl-Pak (e.g., for a 1:10 dilution, you will withdraw 10 mL using a sterile pipette). Note: If using a Whirl-Pak, it helps to stand the Whirl-Pak in a container to keep it upright during dilution.
Add a packet of Colilert to the diluted sample and mix well to dissolve. You can follow the same sample instructions for processing samples as for undiluted samples, as described in Processing Water Samples - Adding Colilert.
Pour the sample into the properly labelled Quanti-Tray/2000, seal it, and then incubate following the instructions in the package insert.
For more information about when to dilute a sample and the dilution ratios that can be used, review the Standard Operating Procedures document.
Pouring the Sample into the Quanti-Tray
Match the sample with the Quanti-tray with the same label.
Use one hand to hold a Quanti-Tray 2000 upright, with the well side facing the palm and the foil side facing away from the palm.
Squeeze the upper part of the Quanti-Tray so that the Quanti-Tray bends towards the palm making a C shape.
Sealing your Quanti-Tray
Carefully place the Quanti-Tray into the rubber insert (white labelled side up). Ensure that the tray is flush against the rubber insert and that each well is aligned with the holes of the rubber insert.
Feed this into the sealer, lifting the back end of the rubber insert if necessary. The white labelled side of the tray back should face up, and the wells should face down. The tray opening should face away from the sealer, going through the sealer last.
The sealer will start to draw in the Quanti-Tray. Wait approximately 5 seconds for the tray to move through and seal and eject from the rear of the sealer. You will need to pull the sealed tray from the sealer's rear gently.
Check to ensure that all the wells are full. If more than 2 wells are empty, the sample is not valid. One or two empty wells do not affect the test interpretation as long as the entire sample is in the tray. The effect on the Most Probable Number (MPN) is statistically insignificant. A partially filled well is interpreted the same way as a full well. Go to the FAQ section for questions regarding partially full or empty wells.
4. Gently pull the foil tab up and out to separate the foil from the tray. Do not touch the inside of the foil or tray as this can contaminate the Quant-Tray. Dispose of the tray and start over with a new tray if the inside of the tray is touched or the tab is ripped.
5. Pour the solution into the Quanti-Tray, avoiding contact with the foil tab and the inside of the Quanti-Tray.
6. Relieve pressure on the tray to close the top.
7. Tap or flick the bottom edge of the tray two to three times to release any air bubbles
5. Repeat steps 1-3 until all Quanti-Trays are sealed.
6. Use the reverse button on the IDEXX Sealer only when the rubber insert is not fully drawn into the slot.
7. If a tray overflows and spills out, wash and dry the rubber insert before sealing the next sample.
8. Prepare a new sample if the tray is stuck or ripped.
9. Turn off the sealer when finished.

Sealing your Quanti-Tray
Ensure that the incubation of all samples begins within 30 minutes of adding Colilert. Place the sealed trays in a 35±0.5°C incubator. The incubator must maintain temperatures within ±0.5°C of the required incubation temperature of the method.
Plan for the following incubation times:
Colilert: 24 to 28 hours
If samples are stored for longer than these times, discard the results.
Stack the sealed Quanti-Trays in the incubator, ensuring adequate space for air circulation. Keep stacks to a maximum of 8-10 trays high.
Binder capacity: 40 trays
Quincy capacity: 20 trays
If available, turn on a data logger to record the incubator temperature for the incubation period or verify twice daily with a thermometer.
Fill in the incubation time on the Field Data Sheet.
How to Analyze Samples
After you have completed sample processing, you will begin to analyze your Quanti-Tray/2000 samples the following day. You will begin this process by filling out your lab bench sheet, including: name, date, sample site, sample date, incubation time, analysis data, analysis time, and incubation duration.
If you have questions following this section, please review the Standard Operating Procedure document for more details and information on the sample analysis process and steps.
Reading your Quanti-Tray Results
Complete all tray counts within 30 minutes of incubation end time.
Remove the trays from the incubator and note the time of removal.
Total coliform bacteria count: Using the comparator as a guide, count and record the number of positive large and small wells in the Quanti-Tray. Wells are positive for total coliform when they are equal to or more yellow than the wells in the comparator, even if the wells are not completely full.
Mark the positive yellow wells with a diagonal line in permanent marker as you count.
Count the large positive wells and record the number at the top right of the Quanti-Tray and in the Lab Bench Sheet.
Count the small positive wells and record the number at the bottom right of the Quanti-Tray and in the Lab Bench Sheet.
Total E. coli count: Place the sample tray into the black-light box. Turn on the 6-watt 365 nm UV lamp.
Compare each well with the comparator. Wells are positive for total E. coli when glowing under UV light and when they have been positively identified for total coliform, even if the wells are not full. Count and record the number of positive large and small wells.
As you count, mark the positive wells with a diagonal line (creating an X if the well is positive for both total coliform and total E. coli) in permanent ink.
Reading E.coli Results

Count the large positive wells marked with an X and record the number at the top left of the Quanti-Tray and in the Lab Bench Sheet.
Count the small positive wells marked with an X and record the number at the bottom left of the Quanti-Tray and in the Lab Bench Sheet.
5. Record results on the Lab Bench Sheet, including the following:
Sample ID
Number of positive large and small wells (for both total coliform and total E. coli)
Reading Total Coliform Results
Using the MPN Calculator
IDEXX provides an MPN chart with their materials. It is good practice to know how to use the charts.
Use the appropriate MPN chart with the # of positive large and small wells to obtain the MPN for total coliform or E. coli per 100 mL.
Locate the total number of positive large E. coli cells on the top row and the total number of positive small wells on the leftmost column.
Where the two meet is the MPN or most probable number of E. coli in 100mL of water.
At Swim Drink Fish, we have automated this process. Open up the MPN Calculator and see the below instructions.
Create a new copy of the original sheet for each site you are monitoring, naming the sheet according to the site name
Input the sample ID of your sample, up until the week in column A. For example, if your sample ID is FRK23-VLA-01, input FRK23-VLA in column A
Input the week number in column B
Input whether your analysis was for Total Coliform or E. coli in column C by inputting either TC or EC.
Your sample ID should be automatically populated in column D. You could also manually update this each time, but inputting the information individually in the columns will save you time
Input the total number of large wells in column E
Input the total number of positive small wells in column F
The MPN will automatically be calculated in column G
Record the MPN results (for both total coliform and total E. coli) on the Lab Bench Sheet.
Repeat counts for the same technician should be within 5%.
Counts between technicians should be within 10%.
Instructions to calculate the E. coli spatial Geomean will be in the data management portion of this SOP. Calculate the geomean using those instructions and record it on this sheet afterwards.
Laboratory QA/QC Analysis
Duplicate Sample Analysis
The MPN values of all samples, including your sample duplicate, should now be recorded on the MPN Calculator and the Lab Bench Sheet.
Looking at the original sample's upper and lower confidence intervals, determine whether the duplicate sample is within our outside of the interval.
Refer to the example in the MPN Calculator. In the original sample (row 24), the MPN is 130.8. The lower 95 confidence interval is 108.6 MPN. The upper confidence interval is 155.9 MPN. For the duplicate to pass this QA/QC measure, the MPN must be within 108.6-155.9 MPN.
This duplicate has an MPN of 173.2, so it would fail the duplicate test.
You would then mark N on the Lab Bench Sheet, when prompted whether the duplicate passed 95% CI for E. coli.
Instructions on what to do if your samples fail a QA/QC will be found in the data management portion of this SOP
Field Blank Analysis
Field blanks should be without any presence of Total Coliforms and E. coli
If your samples have any positive wells, indicate the results and circle N in the question “Field blank passed QA/QC?”
If your samples have no positive wells, circle N.


Now that you have processed and analyzed your water samples, you are ready to start working on data management and sharing your results with the general public and interested groups! Section Five will specifically outline: data management procedures and plans, getting started with Swim Guide, sharing your results, and data analysis.
NEXT SECTION

